Google Cloud Run 一瞥
原文:A First Look at Google Cloud Run
Google 在 Cloud Next’19 上发布了基于 Docker 容器的的 Serverless 新方案。目前可以肯定的是,这是 Serverless 的重要进步——在 Cloud Run 上进行部署比在 Kubernetes 上运行容器简单多了。而且和 Lambda 不同,这一方案没有语言绑定的问题。
什么是 Google Cloud Run
Google Cloud Run 是一个全托管平台,它以无状态、自动伸缩的 HTTP 服务的形式运行 Docker 容器镜像。
Cloud Run 和第一代 Serverless 平台(例如 AWS Lambda、Google Cloud functions 或 Azure Functions)不同,它允许你运行任意的应用,提供多个端点;而无需使用特定接口来运行小规模的函数。
Cloud Run 的基础来自于 Knative,因此这一方案有可能被移植到其它的托管 Kubernetes 平台。
我的项目能够在 Google Cloud Run 上运行么?
Google 发表了 容器运行时契约,其中说明了对容器的要求:
- 容器是 64 位 Linux 平台;
- 在 8080 端口监听 HTTP 请求;
- 最多使用 2G 内存;
- 容器实例必须在收到请求之后的 4 分钟内启动 HTTP 服务器;
- 应用应该能够适应自动从 0 到多个运行实例的容器环境;
- 所有的运算都应该是无状态的,限制在一个请求之内。
只要你的项目能够符合上面的条件,不论使用什么语言开发,都能够在 Cloud Run 上面运行。
Cloud Run 目前还在 Beta 阶段,因此这些需求可能会发生变动。
上手流程
对于熟悉 Docker 或者 Heroku 传统 PaaS 解决方案的人来说,Cloud Run 应该很易上手。
应用打包成 Docker 之后,剩下的任务包括:
- 把镜像推送到 Google 镜像库。
- 运行
gcloud beta run deploy
只要几分钟,Cloud Run 就会使用一个可定制、可开放的域名启动新应用了。
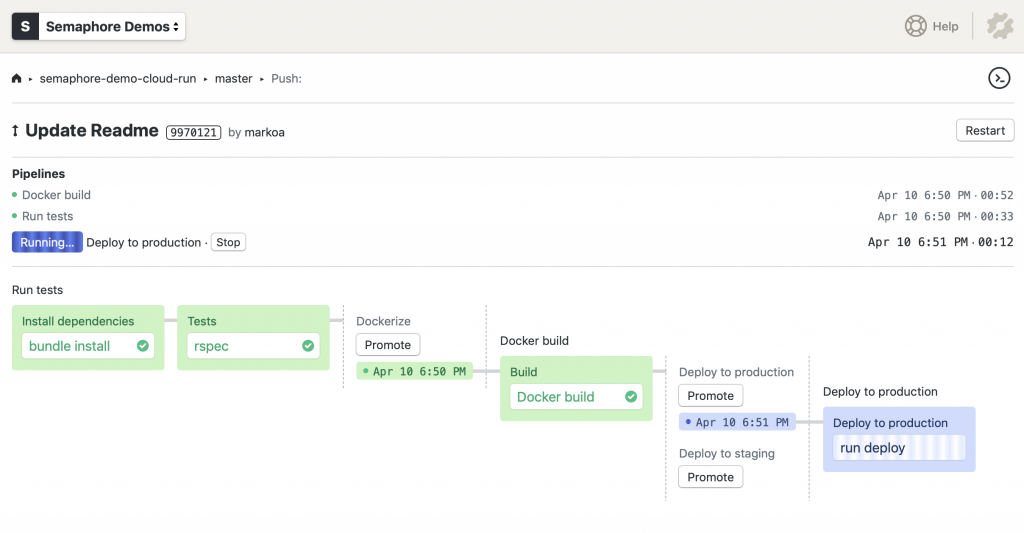
示例:使用 Semaphore 进行持续部署
下面的例子中,我们使用 Semaphore 要为一个微服务配置 Serverless CI/CD Pipeline,其中包含如下环节:
- 运行自动测试;
- 构建 Docker 容器;
- 将容器镜像推入 Google 镜像库;
- 提供到 Cloud Run 预备环境的一键部署;
- 在对 Master 分支的构建成功之后;自动部署到 Cloud Run 生产环境。
可以在 Github 上找到相关的全部代码。
启用 Cloud Run
官方的快速启动指南提供了一个 Cloud Run 的上手教程。
第一步是:
- 在你的账号中启用 Cloud Run API;
- 安装 Google Cloud SDK;
- 使用
gcloud components install beta安装 Beta 组件。
应用容器化
下面的 Dockerfile 将一个简单的 Sinatra 应用打包:
FROM ruby:2.5
RUN apt-get update -qq && apt-get install -y build-essential
ENV APP_HOME /app
RUN mkdir $APP_HOME
WORKDIR $APP_HOME
ADD Gemfile* $APP_HOME/
RUN bundle install --without development test
ADD . $APP_HOME
EXPOSE 8080
CMD ["bundle", "exec", "rackup", "--host", "0.0.0.0", "-p", "8080"]
注意如果使用你自己的 Dockerfile,必须开放 8080 端口,否则可能会看到如下错误:

登录 Google Cloud 和 GCR
要在 CI/CD Pipeline 中自动地将镜像推送到 GCR,需要在 Semaphore 中登录到 Google Cloud。为了安全起见,需要在 Semaphore 中根据 Google Cloud Service account 的认证密钥创建一个 Secret。
获取认证密钥之后,在 Semaphore 中用 Secret 的形式上传到 Semaphore。假设文件名是 .secrets.gcp.json:
sem create secret google-cloud-stg --file ~/Downloads/account-name-27f3a5bcea2d.json:.secrets.gcp.json
定义分发管线
接下来就可以编写一个 Pipeline 来构建、标记并推送镜像到 GCR 了:
# .semaphore/docker-build.yml
# This pipeline runs after semaphore.yml
version: v1.0
name: Docker build
agent:
  machine:
    # Use a machine type with more RAM and CPU power for faster container
    # builds:
    type: e1-standard-4
    os_image: ubuntu1804
blocks:
  - name: Build
    task:
      # Mount a secret which defines an authentication key file.
      # For info on creating secrets, see:
      # - https://docs.semaphoreci.com/article/66-environment-variables-and-secrets
      # - https://docs.semaphoreci.com/article/72-google-container-registry-gcr
      secrets:
        - name: google-cloud-stg
      jobs:
      - name: Docker build
        commands:
          # Authenticate using the file injected from the secret
          - gcloud auth activate-service-account --key-file=.secrets.gcp.json
          # Configure access to container registry, silence confirmation prompts with -q
          - gcloud auth configure-docker -q

          - checkout

          # Tag your images with gcr.io/ACCOUNT_PROJECT_NAME/SERVICE_NAME pattern
          # Use Git SHA to produce unique artifacts
          - docker build -t "gcr.io/semaphore2-stg/semaphore-demo-cloud-run:${SEMAPHORE_GIT_SHA:0:7}" .
          - docker push "gcr.io/semaphore2-stg/semaphore-demo-cloud-run:${SEMAPHORE_GIT_SHA:0:7}"

promotions:
  # Deployment to staging can be trigger manually:
  - name: Deploy to staging
    pipeline_file: deploy-staging.yml

  # Automatically deploy to production on successful builds on master branch:
  - name: Deploy to production
    pipeline_file: deploy-production.yml
    auto_promote_on:
      - result: passed
        branch:
          - master
在 deploy-staging.yml 和 deploy-production.yml 中包含了同样的步骤,区别只是服务的名称。
# .semaphore/deploy-production.yml
# This pipeline runs after docker-build.yml
version: v1.0
name: Deploy to production
agent:
  machine:
    type: e1-standard-2
    os_image: ubuntu1804
blocks:
  - name: Deploy to production
    task:
      secrets:
        - name: google-cloud-stg
      jobs:
      - name: run deploy
        commands:
          - gcloud auth activate-service-account --key-file=.secrets.gcp.json
          - gcloud auth configure-docker -q

          # Deploy to Cloud Run, using flags to avoid interactive prompt
          # See https://cloud.google.com/sdk/gcloud/reference/beta/run/deploy
          - gcloud beta run deploy markoci-demo-cloud-run --project semaphore2-stg --image gcr.io/semaphore2-stg/markoci-demo-cloud-run:${SEMAPHORE_GIT_SHA:0:7} --region us-central1
上线运行
在本地终端或者 Semaphore 作业的日志中,最后一行会包含一个应用运行的网址:
https://semaphore-demo-cloud-run-ud2bmvsmda-uc.a.run.app.
用浏览器打开这个网址会看到:

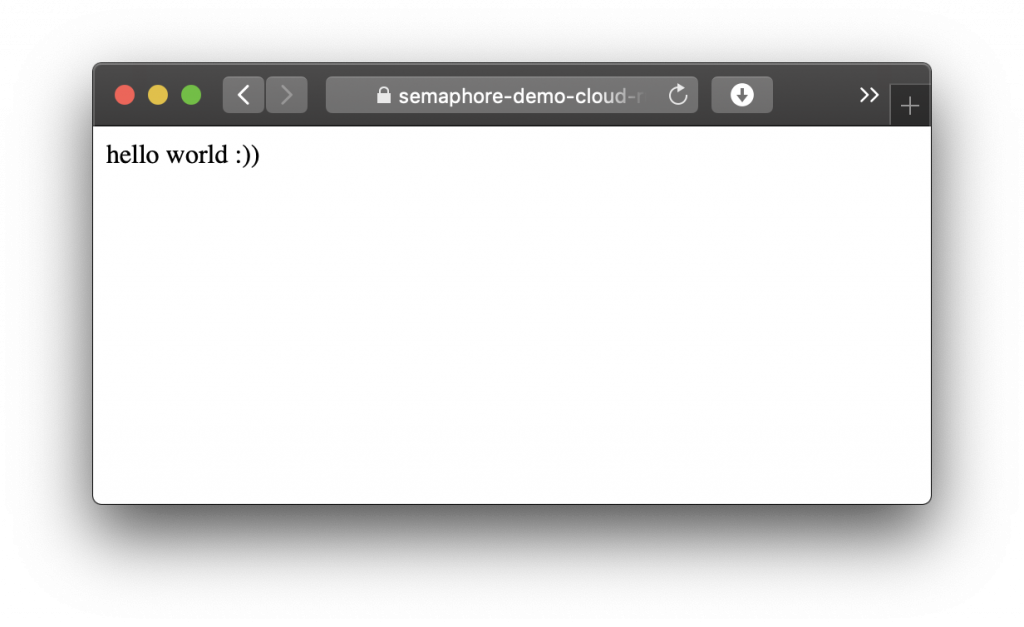
这是因为还没有完成最后一步:在 Google Cloud Run 控制台中开放服务
完成之后的浏览页面:
整装待发
希望本文能够引起你使用 CI/CD Pipeline 在 Google Cloud Run 上构建和发布应用的兴趣。
崔秀龙
简单,是大师的责任;我们凡夫俗子,能做到清楚就很不容易了。